Rock tumbling is a unique hobby to pick up as well as a specialized profession. For both cases, your finished products are only as good as the condition of your equipment. Neglecting to clean may lead to damaged machines, poor results, or even ruined gems. Let's talk about how to care for your rock tumbling tools.
Why Cleaning Your Rock Tumbling Equipment Matters
If you've been using your tumbler for any amount of time, you know it generates a lot of mess. The slurry created during the tumbling process—a mixture of grit, water, and rock particles—can cause serious wear on your machine if left unchecked. Build-ups can clog barrels, damage seals, and make uneven stones.
Additionally, cross-contamination between grits in different tumbling stages can ruin a batch of stones, undoing hours of work. A little preventive cleaning saves the frustration of redoing a batch. Plus, clean equipment simply works better.
Pre-Cleaning Tips Before You Start
Before cleaning your equipment, follow these steps:
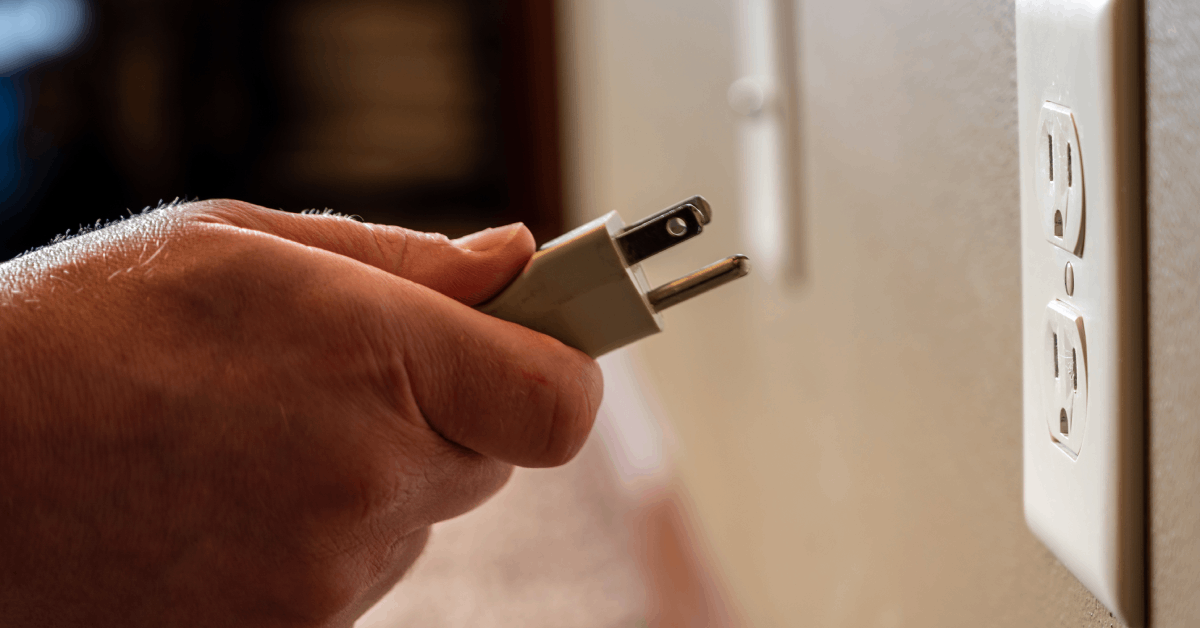
- • Turn off and unplug your machine: Always prioritize safety before dismantling your tumbler.
- • Gather your supplies: A few tools like a toothbrush, soft sponge, mild dish soap, and microfiber cloth will make the process easier.
- • Handle grit and slurry responsibly: Never rinse slurry down the drain! It hardens like cement and can harm your pipes. Use a bucket for rinsing and dispose of the waste outdoors or in the trash.
Doing these things before you start can make the cleaning process faster and safer.
Guide to Cleaning Your Tumbler
Keeping your rock tumbler clean is essential for maintaining its performance and polishing results. In this guide, we'll walk you through everything from how to remove grit residue to preventing buildup.
1. Empty the Barrel Immediately After Use
Once the tumbler has completed a cycle, empty the barrel as soon as possible. The longer the slurry sits, the harder it is to clean. Carefully pour the slurry into a container or disposable bag. Avoid letting it dry and harden inside the barrel—it can be a nightmare to scrub off.
2. Rinse Thoroughly
Rinse the barrel with warm water to wash away excess slurry and grit. Make sure to use a bucket or outdoor area, as the residue can quickly damage indoor plumbing. A quick rinse will prevent grit from building up across the surface of your barrel.
3. Scrub the Barrel
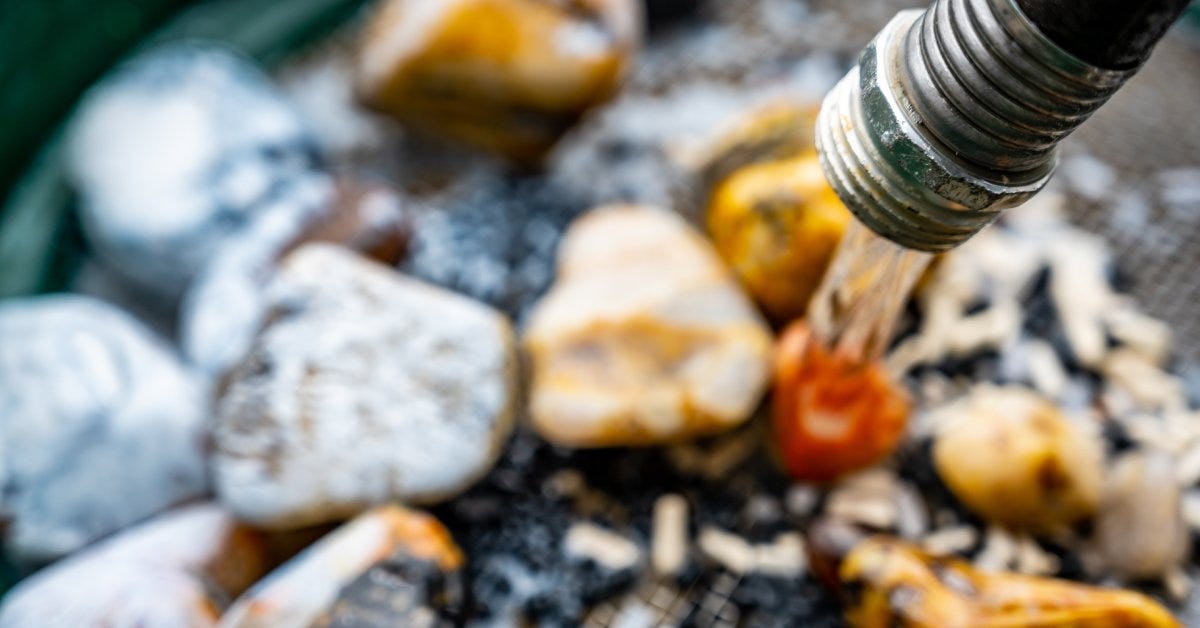
Take a soft sponge or toothbrush to carefully clean the barrel’s interior. Using abrasive tools can scratch the surface, allowing grit to hide and potentially affect future cycles.
Mild dish soap works wonders for removing leftover residue without damaging your barrel. Pay special attention to the bottom and any crevices where grit tends to accumulate.
4. Check the Seals and Lid
To avoid leaks, look after your barrel lid and seals. Gently wipe them with a wet cloth to get rid of buildup that may compromise it. Keeping these components clean helps maintain a good seal. Always inspect for wear and replace seals as needed.
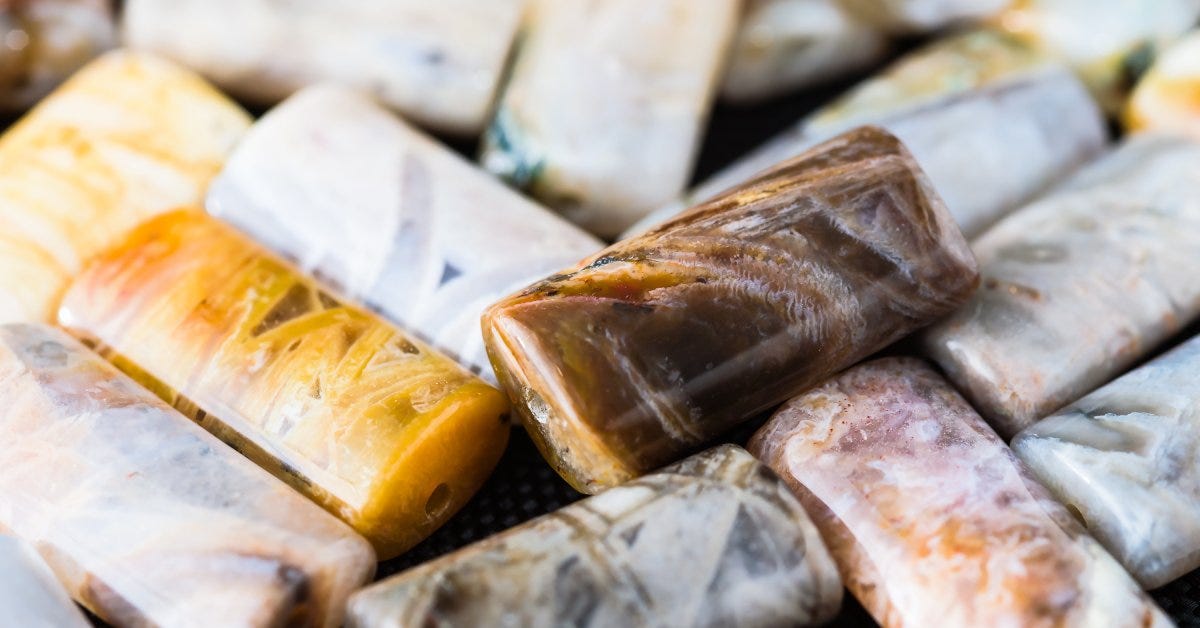
5. Wash Tumbling Media
If you're using ceramic, plastic, or stainless steel tumbling media, it’s vital to keep these items clean. Tumbling media can accumulate grit and contaminate your next stage. Rinse them thoroughly in water and place them on a towel to dry.
6. Clean the Motor and Exterior
After cleaning the barrel, take a moment to check the tumbler's motor and housing. Use a dry or slightly damp microfiber cloth to wipe the exterior. Avoid spraying water to prevent damaging electrical components. Regularly doing this can help you spot issues like frayed cords or motor damage early.
Pro Tips for Maintaining Long-Term Cleanliness
To keep your space consistently tidy, here are some pro tips that make cleanliness easier to maintain.
- • Designate grit stages: Have separate barrels or tumbling media for each grit stage. This prevents cross contamination and saves you hours of cleaning time.
- • Schedule deep cleanings: While regular cleaning after each cycle is essential, a deep clean every couple of months or after heavy use keeps things running smoothly.
- • Avoid harsh chemicals: Stick to gentle cleaners to prevent damage to rubber barrels and seals. Strong chemicals can degrade materials over time.
- • Use tools like brushes: A dedicated toothbrush for scrubbing small grooves and edges is perfect for compact spaces.
If you want to keep your gear in top condition, we at Kingsley North have you covered with parts and cleaning supplies designed for beginners and seasoned rock hobbyists.
How to Keep Your Rock Tumbling Equipment Clean Between Grit Stages
A common mistake is skipping a thorough cleaning between grit stages, especially when moving from coarse to fine or pre-polish. Leftover grit can cause scratches and ruin your stones. Follow these steps to prevent cross contamination:
- 1. After finishing with coarse grit, disassemble your barrel and wash every part meticulously.
- 2. Double check grooves, seals, and edges.
- 3. Rinse your stones under running water before moving them to the next stage.
Develop a methodical approach to your process so that it becomes second nature. You’ll still come across hurdles, but this way you can be confident that you have a strong foundation to work with.
Caring for Accessories and Tools
Your rock tumbling kits might come with extra accessories like sifting pans and storage containers. These also need occasional cleaning to prevent grit transfer. Simply rinse your tools under water and dry them after each use. Be careful with plastic tools, as leftover grit can become embedded in scratches, contaminating other stages.
Likewise, keep clean storage containers and bags used for stones. Wash them occasionally to avoid buildup there.
What Happens if You Skip Cleaning?
Failing to clean your tumbler can lead to several issues:
- • Slurry drying inside the barrel, making it tough to clean
- • Grit contamination creating scratched or poorly polished stones
- • Buildup in the seals or motor shortening your tumbler’s lifespan
- • Hard-to-clean residue causing unpleasant odors over time
The result? Frustration, wasted supplies, and subpar results.
Keep the Process Satisfying
Taking just 10 minutes to clean your equipment after each cycle ensures you're set up for success. Clean gear produces better results, and it’s a rewarding feeling to see shiny gems come out of a tumbler. Plus, giving your tools a little TLC makes it more enjoyable to use them every time.
Wrapping Up
Proper maintenance is crucial for rock tumbling, and knowing how to keep your rock tumbling equipment clean is part of the fun. Equipment that is well cared for lasts longer, operates smoothly, and produces excellent results. By adopting regular cleaning habits, you're protecting your investment and making the most of your tumbling experience.
If you’re looking to upgrade your tools or need supplies, we at Kingsley North are here for you! As a trusted resource for lapidary enthusiasts, we’re proud to offer a range of high-quality items to support your craft.