Lapidary work is a process of transformation. With patience, care, and attention to detail, rough stones evolve into stunning polished treasures. However, to achieve a professional-grade finish, cleaning rocks in between polishing stages is essential. Otherwise, leftover grit from earlier stages can contaminate the rocks, risking scratches and imperfections on the surface of the stones. Incorporate tips from this post into your regimen for successful outcomes.
Tools You’ll Need for Cleaning
Here’s what you’ll need to clean rocks effectively:
• Soft-bristled toothbrush for reaching crevices.
• Mild detergent or dish soap to gently cleanse residue.
• Warm water for loosening grit.
• Fine-mesh strainer for rinsing smaller stones.
• Microfiber cloth to dry the rocks.
Having these simple tools handy makes cleaning easier and, ultimately, your workflow more efficient.
Rinse Off Loose Grit
Start with a strong but gentle rinse under warm running water. Place the stones in a fine-mesh strainer or colander to avoid losing smaller stones. Hold the strainer under the faucet, rotating the rocks to dislodge loose grit. Use your fingers to feel for rough patches. Warm water works especially well for breaking down residue from grit and slurry. Allow the stones to air-dry completely on a clean towel before storing or using them.
Use a Soft-Bristled Toothbrush
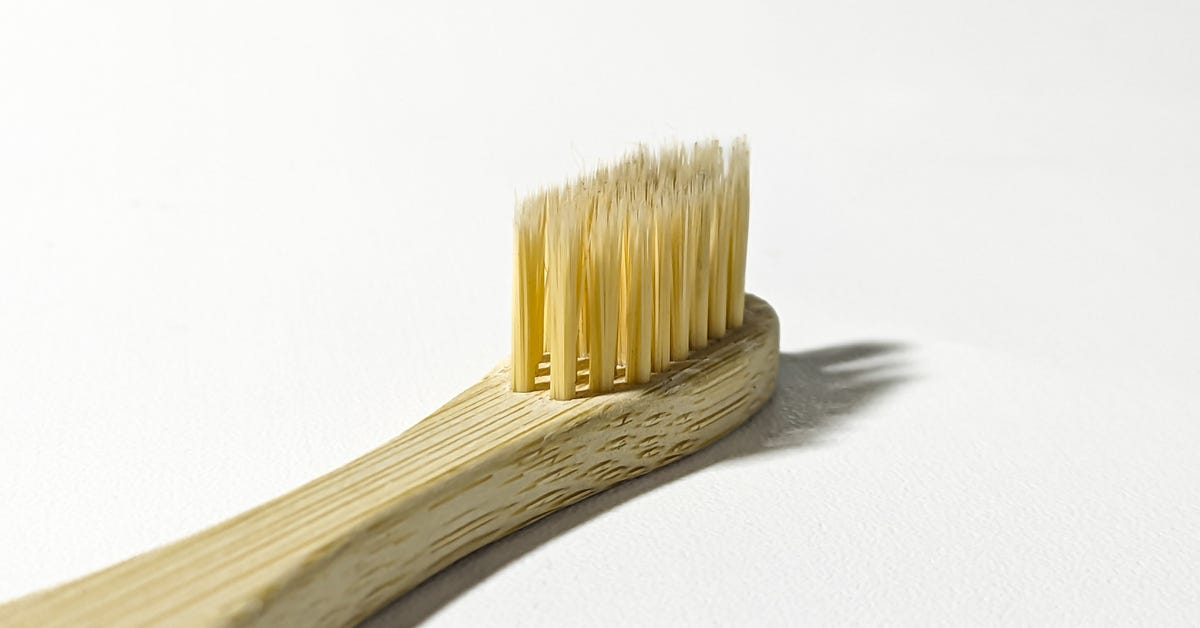
Once you finish the initial rinse, grab a soft-bristled toothbrush and gently scrub the rocks. Pay special attention to cracks, pits, and textured surfaces where grit can lodge. Dip the toothbrush in a small bowl of soapy water to remove stubborn residue, but avoid scrubbing with excess force to protect the stone’s surface.
Rinse the rocks thoroughly under clean water to remove soap residue. Use a microfiber cloth to prevent water spots. Inspect the rocks under good lighting to confirm that all dirt and debris are gone.
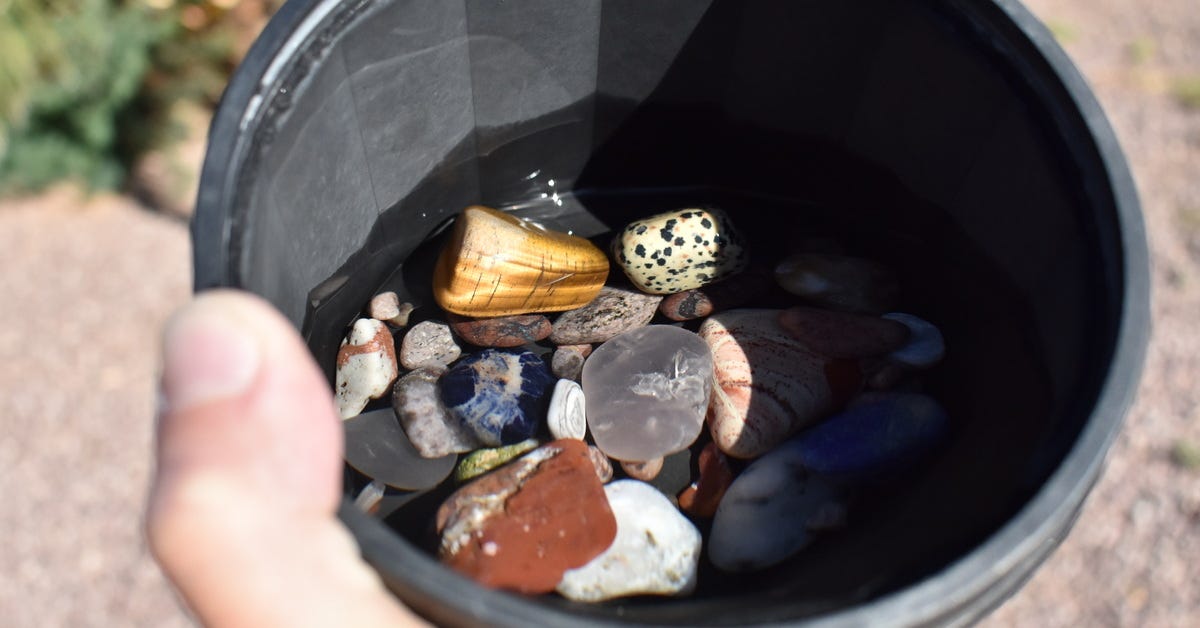
Soak Rock Between Stages
Sometimes, running water and scrubbing alone won’t be enough. For stones holding onto grit in areas tougher to reach, soak them. Fill a container with warm water and a drop of dish soap, then submerge your rocks for 15 to 30 minutes. Soaking softens stuck-on material, making the stones easier to thoroughly clean.
Once the stones have soaked, take a soft brush and gently scrub the surfaces. Look out for textured areas where dirt often hides. Scrub carefully to avoid damaging the stones, especially if they’re delicate or have a polished finish.
Afterward, rinse each stone thoroughly under clean water to remove dirt. Properly dry the stones to prevent moisture from getting trapped, which could lead to discoloration or mildew over time.
Inspect Each Rock Carefully
Once cleaned, inspect each rock up close for remnants of grit. Use good lighting to catch overlooked areas, especially if you’re working with stones that have detailed crevices. This extra step is critical to avoid contaminating the next load with coarse residue. Pay special attention to cracks and grooves where grit tends to hide before placing stones in the next tumbling stage.
Be Mindful of Your Tumbling Barrel
While focusing on your rocks, don’t forget to clean your tumbling barrel. Leftover grit in the barrel walls or lid can reintroduce coarse particles. Rinse the barrel thoroughly with soapy water, using a sponge to scrub the interior, and dry it completely before adding the next rock load.
Inspect the lid and seal for trapped grit. Replace worn seals to maintain a proper fit and avoid leaks. Always store your barrel in an area free from dust to keep it clean between uses.
Dry Your Rocks Properly
After cleaning, lay your rocks on a microfiber cloth or soft towel to air-dry completely. This step minimizes the risk of contamination from leftover slurry or dirt, preventing bacterial buildup that could interfere with your polishing results. Check the rocks for remaining moisture by gently patting them with a cloth. Inspect them for visible debris or residue that might need additional cleaning.
Prevent Cross Contamination
The tiniest amount of grit from an earlier stage can undo hours of work. Keep tools separate for each stage of polishing to avoid cross contamination. For example, don’t use the same toothbrush from the coarse grinding stage during the polishing stage.
Store tools in labeled containers to prevent accidental mixing. Clean your workspace thoroughly between stages to remove stray particles. Your tools should also remain free from residue.
When in Doubt, Start Fresh
If you suspect your rocks aren’t fully cleaned, don’t hesitate to run them through the cleaning process a second time. Even small traces of dirt or debris can interfere with the later stages of polishing, leaving you with less-than-perfect results. Rushing to the next step might save time in the short term, but it often leads to disappointing outcomes in the long term.
Instead, take your time so every rock is fully cleaned, as thoroughness always pays off. A little extra effort will make a worthwhile difference when you see the beautiful, polished surfaces later!
More Tips for Success
The cleaning phase is essential for rock polishers aiming for professional-level results. Always check your rocks and tumbling equipment between stages to catch potential issues early. Whether you’re polishing agates or jasper, a diligent cleaning process is the foundation of a great polish.
Change your cleaning water daily during the smoothing process to prevent grit from contaminating your rocks. Fresh, clear water makes it easier to achieve a thorough and smooth finish. For the best outcome, use filtered water. Avoid hard or mineral-rich water, as it can leave deposits on your rocks and impact the results. Maintaining good water quality also protects your rocks and equipment.
Proper Cleaning Is Worth the Effort
Learning how to clean rocks in between polishing stages isn’t just about preventing scratches; it’s a step that elevates the entire polishing process. By keeping your rocks free from contaminants as you work, you provide the best foundation for a dazzling finale. Next time you start a tumbling run, treat cleaning as an essential part of the process, not an afterthought.
At Kingsley North, we offer tools and products to make the entire process easy for you. Check out our tumbling supplies today to give your rocks the perfect finish they deserve!